Frogger High Score Save Kit -- Installation Guide
Detailed Instructions not yet available.

Kit installs very similar to my other HS kits.
Remove the main Z80 CPU found on the larger bottom pcb.
Plug the Z80 CPU into the HS kit.
Plug the HS kit back into the vacant Z80 socket.
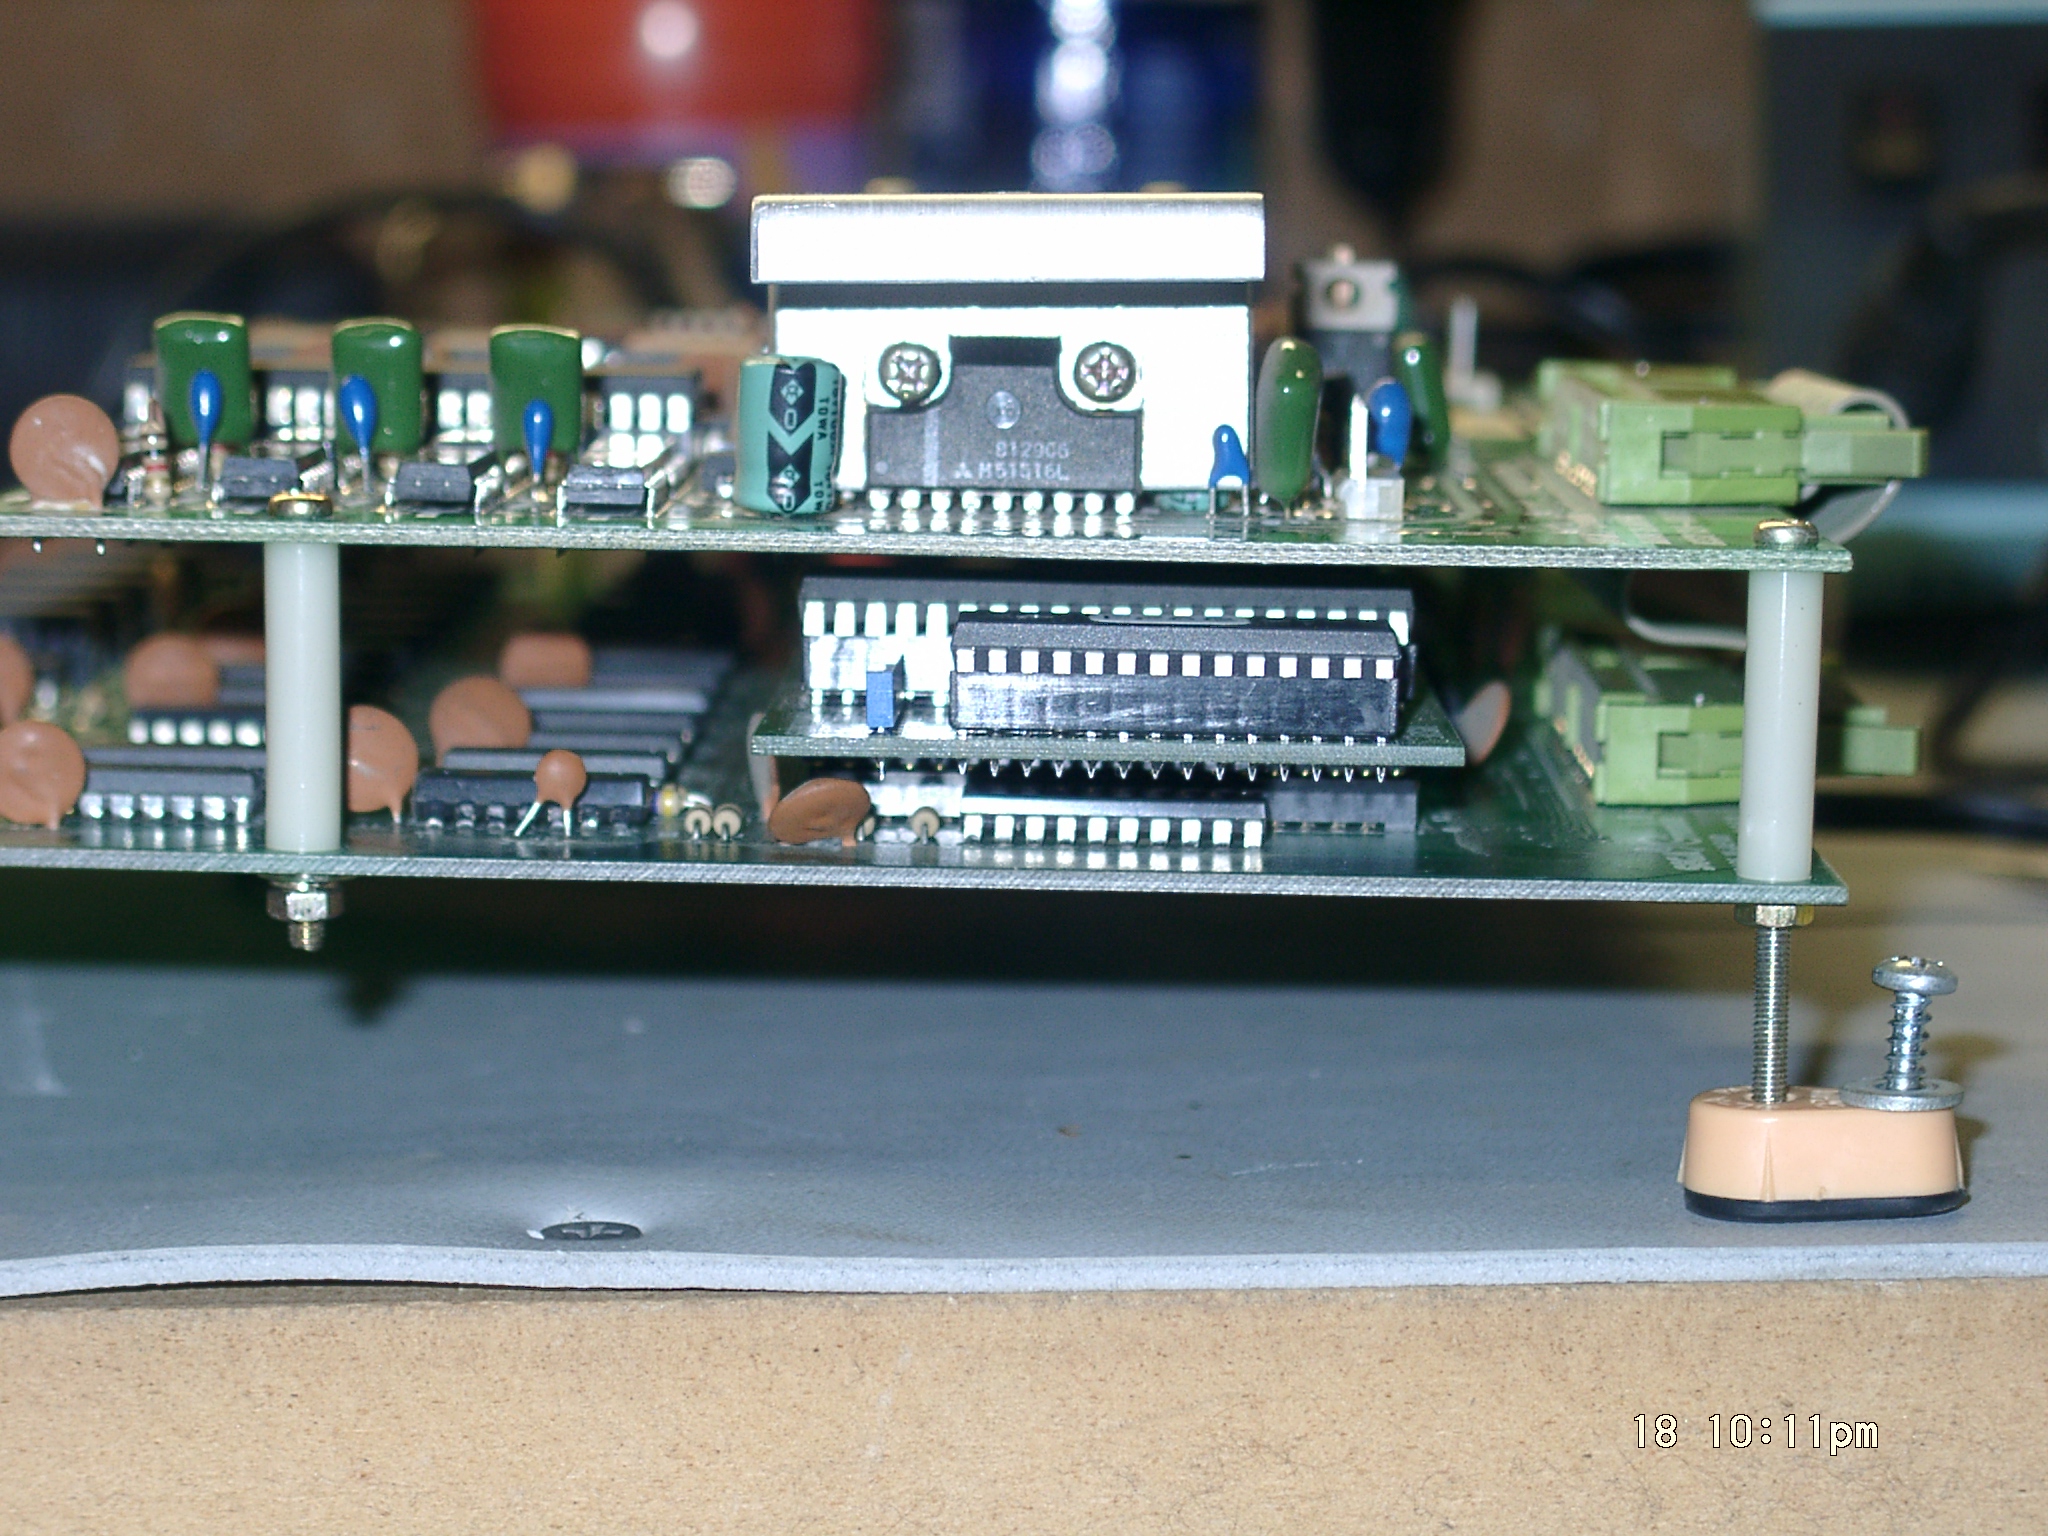
Spacer "trick" for increasing the space between the two boards
Special thanks to Hans Eilers for this spacer "trick".
The frogger HS kit installs onto the bottom board of the two board stackup.
But as you will notice when you attempt to re-assemble the boards, there is
not enough clearance between the two boards because the HS kit is taller than
the original z80 CPU it replaced.
This can create a problem.
Follow closely! and use the pictures as a guide.
-
Remove all four screws holding the sound board in place.
Disconnect the ribbon cable and remove it.
-
On the sound board, remove all 3 screws holding that huge heat sync
on the sound amp. Notice that these screws and stand-offs are
slightly LONGER.
-
Install the HS kit.
Atleast one CPU rom should be removed to prevent the kit board from shorting
on the first ROM.
It is suggested to remove all 4 CPU roms.
-
Replace the 2 heat sink stand-offs farthest from the AMP with the
with the shorter screws and stand-offs from the sound board.
-
Install the original longer 2 screws and stand-offs from the heat sink
in the 2 inside holes of the sound board.
Basically you have swapped the 2 inner sound board standoffs with the
two standoffs from the heat sink.
-
In the corner closest to the HS kit, install the original real long
screw using the 3rd heatsink stand-off between the boards. There will not be
enough length of the screw to use the original stand-off on the bottom between
the main board and the foot so use the nut from the 3rd heatsink screw and
tighten it up to the bottom of the main board.
-
Install the original screw and stand-off in the remaining corner.
This will make it shorter than the rest but that should be OK.
The sound board will sort of tilt lower towards that corner.
-
You should now have a left over spacer from the corner nearest the HS kit.
Thanks again Hans Eilers for this spacer "trick".